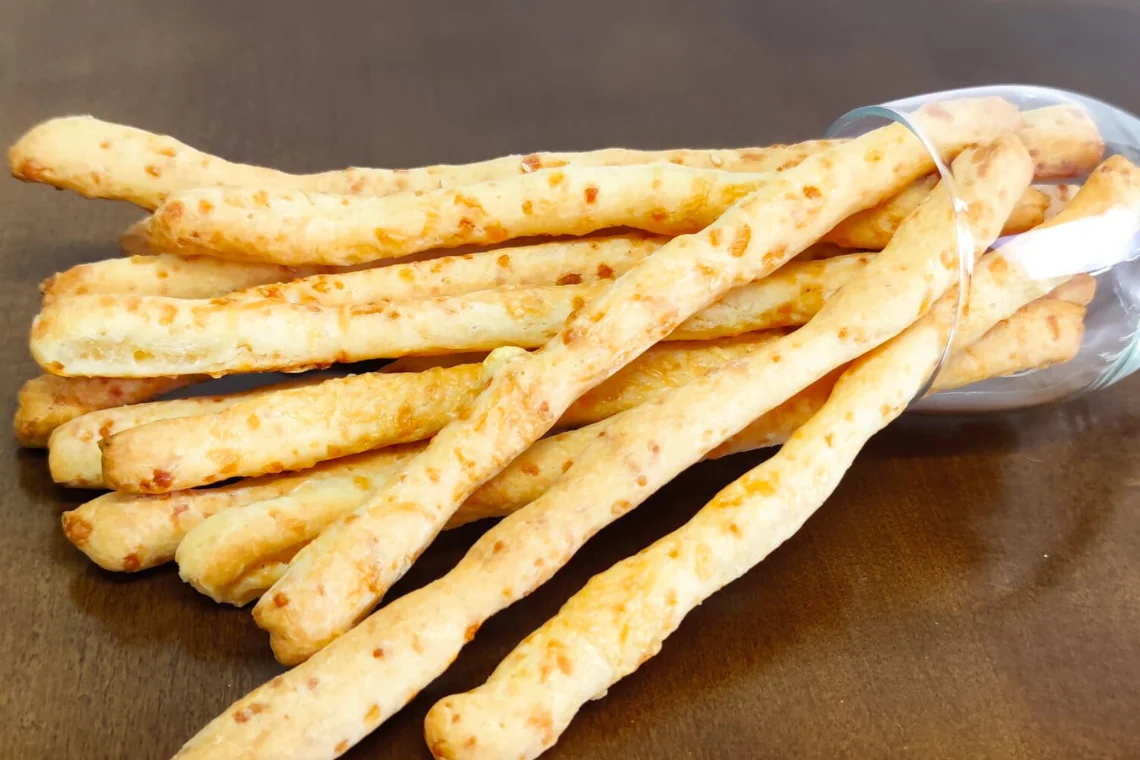
We present these Brazilian Cheese Bread Sticks as a fun way to enjoy a snack with the little ones, or even as an irresistible appetizer, especially when paired with a delicious dip or savory spread.
To elevate the experience, nothing beats pairing these Cheese Bread Sticks (Grissini) with a good wine, resulting in a delightful combination. This recipe offers a creative twist on the classic Brazilian cheese bread, maintaining its authentic base.
There is a wide variety of ingredients to further enhance the flavor—from traditional Parmesan to more creative options like sesame seeds, dehydrated onion and garlic, or even touches of rosemary and Provolone cheese. This allows for a personalized and flavorful experience for every palate.
Come back often; this corner is all yours! See you at the next delicious recipe! 🤗✨
Brazilian Cheese Bread Sticks – Grissini
Ingredients
Preparation Method (Instructions)
- Boil the Liquids: In a saucepan, combine the milk, water, oil, and salt. Bring to a boil over medium heat, stirring to ensure the salt is fully dissolved.
- Prepare the Starch: In a large bowl, mix the sour cassava starch and sweet cassava starch until well combined.
- Scald the Dough: Pour the boiling liquid mixture over the starches. Mix thoroughly until the liquid is completely absorbed and the mixture is uniform. Set aside to cool.
- Add the Egg: In a separate small bowl, lightly whisk the eggs. Measure exactly 75g of the beaten egg and add it to the cooled starch dough. Mix well.
- Knead for Elasticity: Transfer the dough to a flat surface and knead for about seven minutes until it becomes elastic and smooth. If necessary, knead longer until you reach the ideal "chewing gum" consistency (stretchy and pliable).
- Incorporate the Cheeses: Add half of the grated Parmesan and Provolone to the dough. Knead until well incorporated. Add the remaining half and knead again until the cheese is evenly distributed.
- Shape the Grissini: Divide the dough in half. Roll out each half into a rectangular shape. Cut into strips and gently twist or roll each strip to form long, round sticks (Grissini). See the video for visual details on this technique.
- Add Toppings: Sprinkle grated Parmesan or sesame seeds over the sticks and roll them gently so the toppings adhere.
- Bake: Preheat your oven to 180°C (350°F) for 10 to 15 minutes. Place the grissini on a baking sheet lined with parchment paper. Bake at the same temperature for about 30 minutes, or until they are golden brown and crunchy.
- Cool and Serve: Remove the Cheese Bread Grissini from the oven and let them cool for a few minutes.
Enjoy: Serve as an appetizer paired with artisanal spreads, dips, or as a fun and delicious snack for kids.
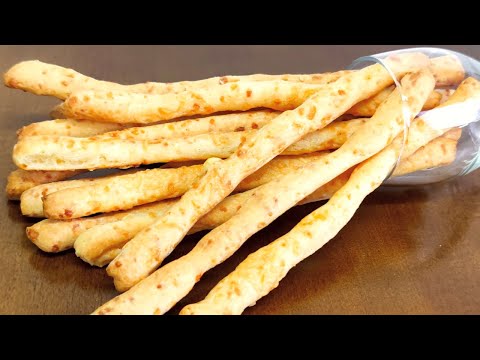
Watch the visual guide (in Portuguese) to see the texture of this Brazilian Cheese Bread Sticks recipe.
Note
1 - Oven Temperature: 180°C is approximately 350°F.
2 - Lining the Pan: I typically do not grease or line the baking sheet for traditional cheese bread. However, since these are very thin and delicate, they can break easily when being removed from the pan. For better safety and results, I highly recommend lining the baking sheet with parchment paper instead of greasing it.
3 - Vinyl Gloves: It is ideal to use vinyl gloves when kneading the dough and shaping the Cheese Bread Grissini. This prevents the dough from sticking to your hands, making the process much easier and more efficient.
4 - Silicone Mat: Another great tip is to knead the dough on a silicone mat. This prevents the dough from sticking to the counter and avoids unnecessary mess in your kitchen.
5 - Make sure to roll the Brazilian Cheese Bread Sticks thin to ensure maximum crunchiness. If the dough is too thick, they might stay soft in the center instead of reaching that perfect crisp texture.