A delicious option for pot pie lovers and those looking for wheat-free alternatives!
We present to you this Gluten-Free Chicken Pot Pie recipe—a perfect choice for anyone seeking wheat-free options without compromising on flavor, and for those who want to explore new ingredient possibilities in the kitchen.
With this detailed step-by-step guide, you will learn how to create a pot pie that combines a delicious chicken filling with a wheat-free crust that is equally flavorful.
In addition to being a gluten-free option, this recipe is perfect for impressing family and friends on various occasions, whether as a main course or as part of a special menu.
If you know someone looking for wheat-free or gluten-free options, share this Gluten-Free Chicken Pot Pie recipe with them!
Come back often; this little corner is all yours! See you at the next delicious recipe! 🤗✨
Gluten-Free Chicken Pot Pie: A Delicious Option!
Ingredients
Chicken Filling (Recheio)
Gluten-Free Crust (Massa do Empadão)
Assembly and Finishing (Montagem e Finalização)
Preparation Method (Instructions)
Chicken Filling
- Cook the Chicken: Season the chicken breast with a pinch of salt and place it in a pressure cooker with water. Once it reaches pressure, cook for 20 minutes. Turn off the heat, drain the water, and let the chicken cool. Shred it and set aside.
- Sauté the Aromatics: Finely chop or process the garlic, onion, and bell pepper. In a large pan, heat a bit of oil and sauté the garlic until golden. Add the onion and sauté until translucent. Stir in the chopped bell pepper and tomato, mixing constantly.
- Combine: Add the shredded chicken to the pan and mix well. Add the sweet corn and olives, stirring occasionally over low heat.
- Prepare the Thickener: In a separate bowl, whisk 200 ml of water with the cornstarch and your spices (sweet paprika, turmeric, lemon pepper, cumin, and thyme). Add 2 eggs and mix until smooth.
- Thicken the Filling: Pour this mixture into the pan with the chicken. Stir and cook for a few more minutes. Taste and adjust salt if needed.
- Note: If the filling is too thick, add a little more water. This recipe used a total of 14g of salt and 300ml of water, but adjust to your preference.
- Finish: Stir in fresh herbs (parsley/scallions) to taste, mix well, and turn off the heat. Let it cool before assembling.
Wheat-Free Crust
- Mix Wet Ingredients: In a large bowl, combine the three eggs, salt, and butter. Mix in the sweet cassava starch (polvilho doce) and grated parmesan cheese until well combined.
- Add Cornstarch: Gradually add the cornstarch (approx. 210g) until the dough reaches the desired consistency. Mix until smooth and homogeneous.
- Check Seasoning: Taste the dough and add a pinch of salt if necessary.
- Portion the Dough: Divide the dough into three parts: one for the bottom, one for the sides, and one for the top crust.
Assembly & Baking
- Prepare the Pan: Use a springform pan (removable bottom) for easy release. Cover the bottom and sides of the pan with the dough, ensuring it’s not too thick.
- Roll the Top: Place the dough reserved for the lid between two sheets of plastic wrap. Use a rolling pin to level it. Use the pan as a guide to ensure the lid is the correct size.
- Fill: Spread the chicken filling evenly over the crust. Top with the Requeijão (see Notes for the Cream Cheese substitute), distributing it uniformly.
- Preheat: While assembling, preheat your oven to 180°C (350°F) for 15 minutes.
- Seal: Carefully place the dough lid over the filling and trim/adjust the edges (refer to the video for the technique).
- Glaze: Lightly whisk the egg yolks and brush them over the top of the pie.
- Bake: Bake at 180°C (350°F) for approximately 1 hour or until golden brown.
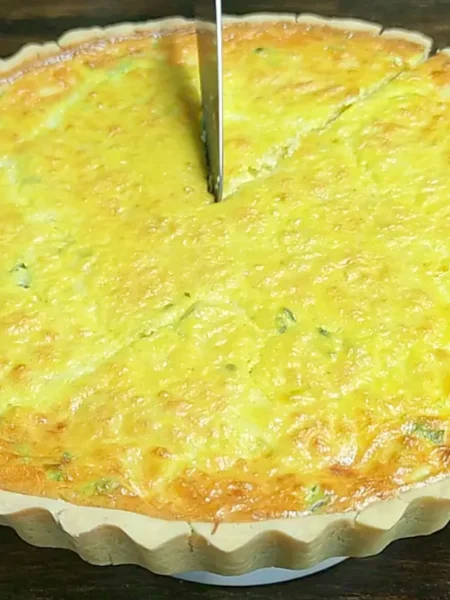
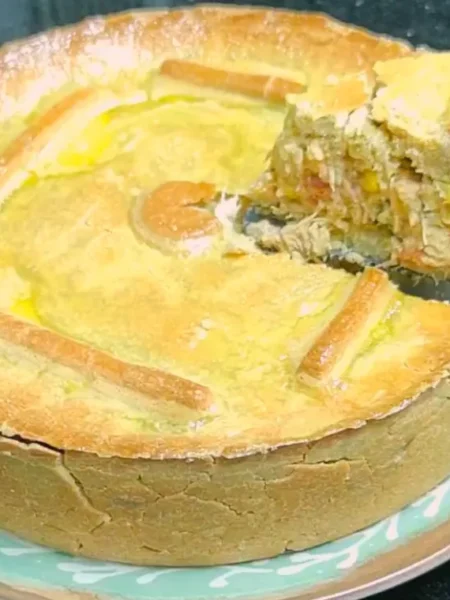
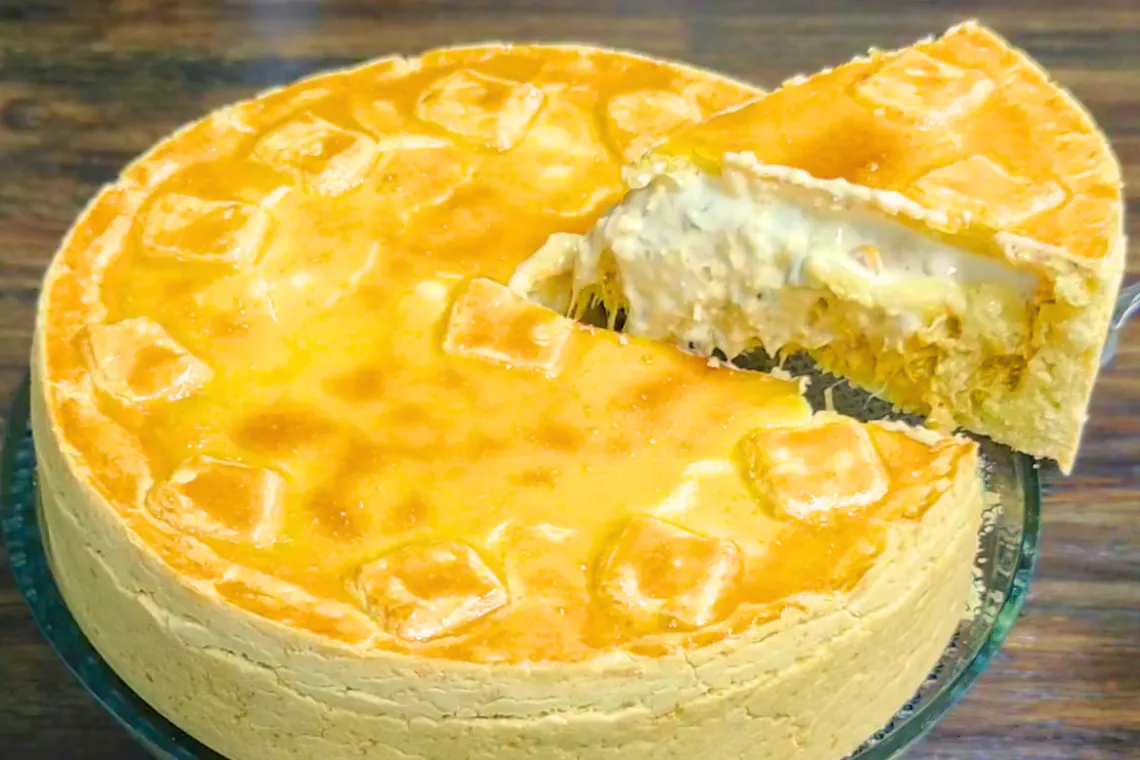
Serve: Allow it to cool slightly before removing from the pan. Enjoy your delicious wheat-free chicken pot pie!
Watch the visual guide (in Portuguese) to see the texture of this Gluten-Free Chicken Pot Pie recipe!

Note
1 - Requeijão Substitute: If you cannot find authentic Brazilian Requeijão or Catupiry, mix high-quality Cream Cheese with heavy cream (approximately a 3:1 ratio). Add the heavy cream gradually and stir until you reach a smooth, fluid, and thick consistency. This blend reduces the natural acidity of the cream cheese and provides the perfect creaminess for the filling.
2 - Crust Thickness: Avoid making the edges too thick, as they can become hard after baking. A thinner crust ensures the traditional "Empadão" texture, but maintain a safe thickness so the slice doesn't break when serving.
3 - Filling Variations: This gluten-free dough is incredibly versatile and pairs perfectly with hearts of palm or shrimp fillings. Always remember to keep the filling creamy; avoid preparations that are too dry or have excess liquid.
4 - Pan Size: For this recipe, I used a springform pan (removable bottom) with a 10-inch (25 cm) diameter and 2-inch (5.5 cm) height.
5 - How to Reheat: If you have leftovers, you can reheat the slices in a conventional oven, air fryer, or microwave the next day. The pot pie will remain delicious and the crust's texture will stay perfect!